



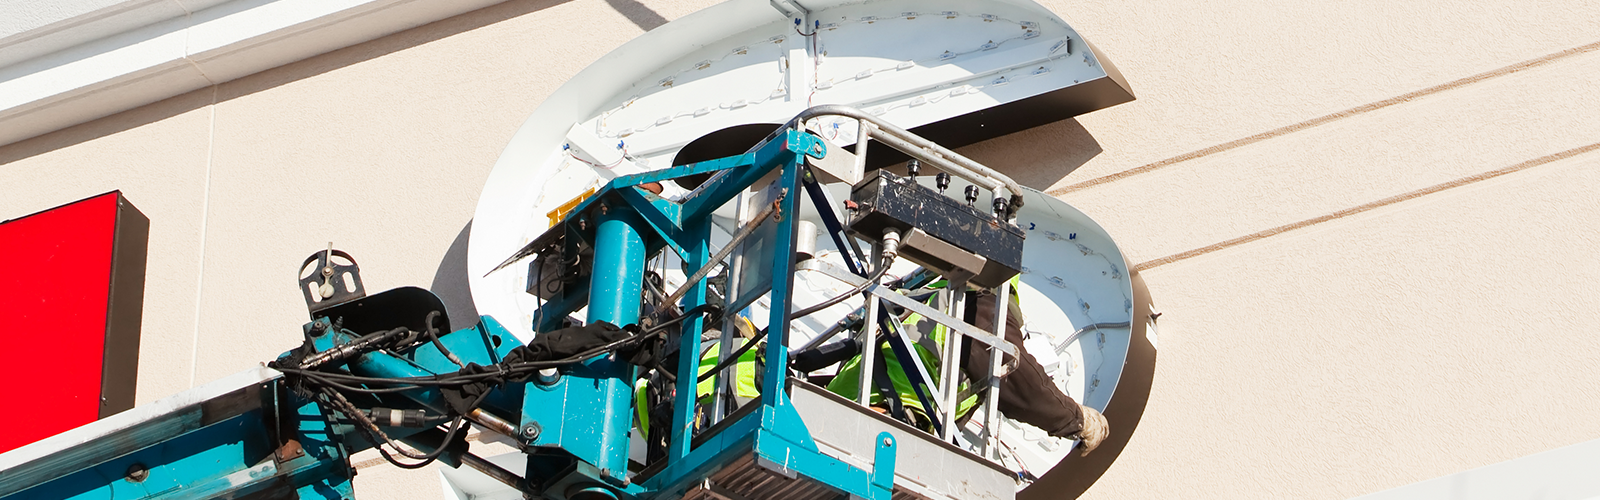
In the sign world, any illuminated sign that does not require a service call can be considered an A+ project. To help your install and service teams reduce the risk of service calls, our team of experts came up with a list of 6 best practices to build into your process.
- Underload Your Power Supplies.
- Follow U.L. Minimum Spacing Requirements.
- Ensure Proper Ventilation.
- Additional Surge Protection.
- Prevent Water Intrusion.
- Take Photos.
1. Underload Your Power Supplies
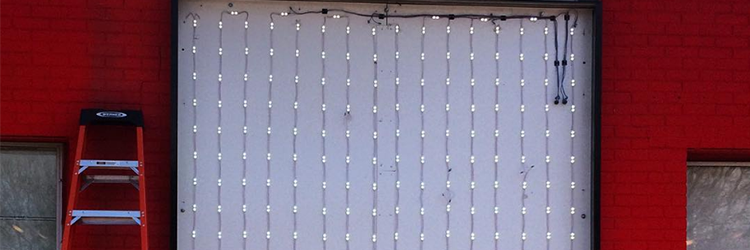
Underload your power supplies by 20%. So if a supply is rated for 100 watts, design the circuit to pull no more than 80.
Why Underloading Matters for LED Sign Installations
Even if a power supply is 100% load tested at the factory, that rating is based on controlled lab conditions not the inside of a south-facing cabinet in August. Heat, surges, and power fluctuations in the real world can push a supply beyond its specs if it's already running close to capacity. That 20% buffer gives it room to handle whatever the environment throws at it.
2. Follow UL Minimum Spacing Requirements
Follow UL requirements for minimum spacing between power supplies. In some cases, especially in hotter climates or tight cabinets, you may need to space them 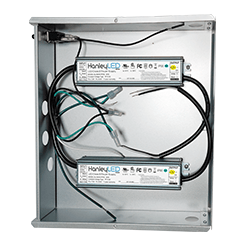 further apart than the minimum calls for.
Spacing Considerations for Hotter Climates and Tight Cabinets
The goal is simple: keep the heat generated by one supply from affecting the supply next to it. UL minimums are the floor, not the target. When ambient temperatures run high or airflow is limited, give them more room.
3. Ensure Proper Ventilation
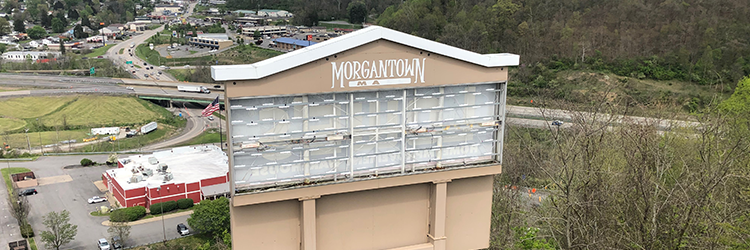
Ask yourself: is your sign properly vented? Even if UL spacing requirements are met, a sealed or poorly vented cabinet can trap heat from your LEDs and power supplies, and accumulated heat shortens component life.
Ventilation Checklist for Illuminated Sign Cabinets
Before closing up a cabinet, make sure the heat can actually get out. Natural convection pulls heat upward, so vents near the top of the cabinet do more work than vents at the bottom. If the sign will be in direct sun, that's another reason to err toward more ventilation rather than less.
4. Additional Surge Protection
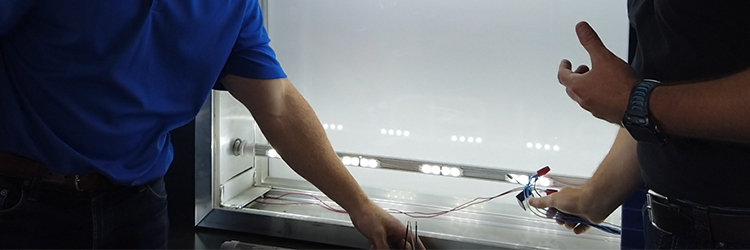
Most power supplies today have built-in surge protection but adding a dedicated surge protector where your primary power meets your power supply gives it an extra layer of defense before anything reaches the internal components.
Where to Add External Surge Protection on Illuminated Signs
This is especially worth doing on larger or higher-value signs, or any installation where the building's electrical system is older or shared with heavy equipment. Built-in protection handles minor fluctuations; it isn't always rated for what older infrastructure can send through.
5. Prevent Water Intrusion
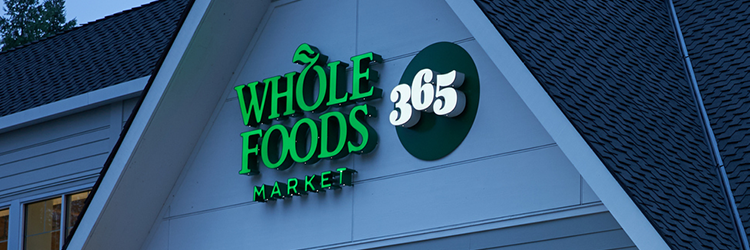
Most LED modules and power supplies carry moisture protection ratings. Your wire connections typically don't.
How Moisture Moves Through LED Sign Wiring Over Time
Moisture that gets into wire nuts, butt splices, and other connection points can weep up through the LED wires as they heat and cool. Over time, that moisture works its way into the modules themselves, causing oxidation of the internal components. Eventually that leads to a short or a surge and by the time it shows up as a sign failure, the source is hard to trace.
Seal wire connections thoroughly. Any connection that could see moisture, directly or through condensation inside the cabinet, should be treated as a potential entry point.
6. Take Photos
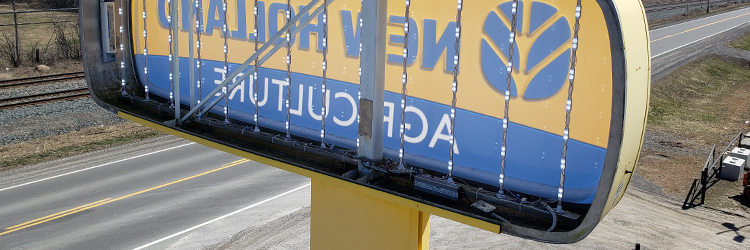
Take photos. Lots of them with the sign face on and with it off.
What to Photograph During an Illuminated Sign Installation
Document the product labels, wire connections, power supply placement, and how everything is laid out inside the cabinet before you close it up. Good photos allow for troubleshooting remotely and give you an accurate picture to reference if something comes up months later. Many times, a solid photo set turns a potential service call into a ten-minute phone call instead.
Photos also protect you. If a question comes up about how something was wired or whether specs were followed, you have the documentation to back it up. Make it a standard part of every install.
Getting these details right at install is what separates the jobs that stay off your service schedule from the ones that don't. For LED modules, power supplies, and other electrical sign components, Grimco stocks a full range of options available nationwide with same or next-day shipping. Browse the electrical sign supplies section at grimco.com or reach out to your local Grimco rep for help spec'ing your next job.