



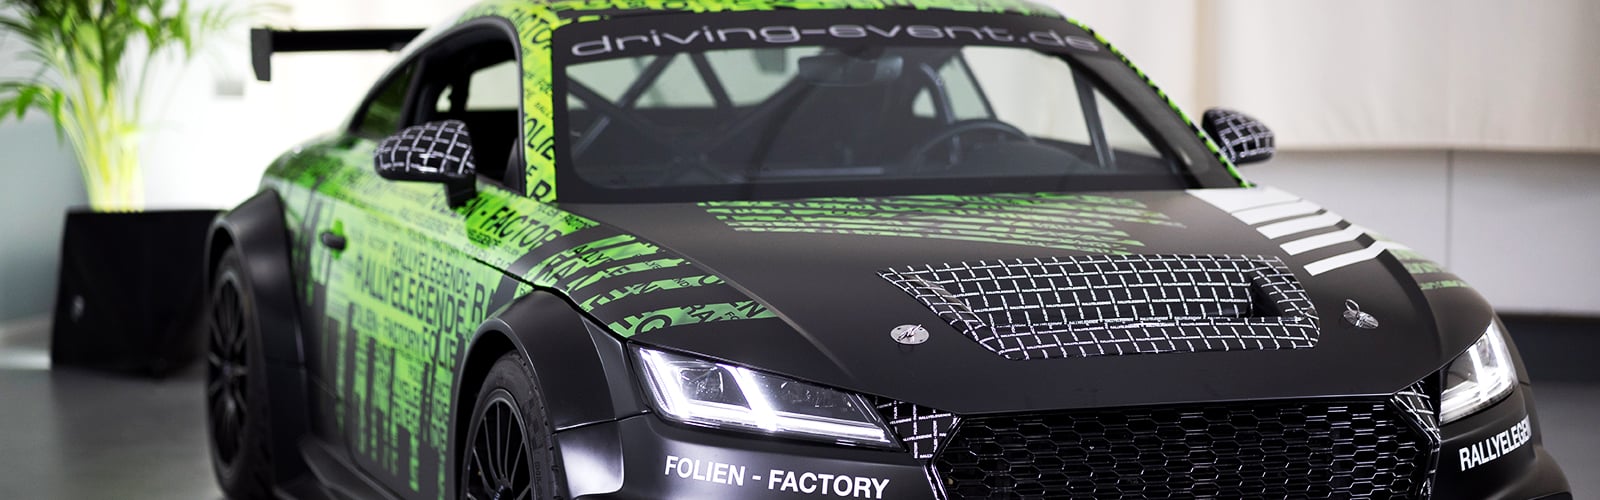
Wraps with tight body lines, rivets, and compound curves leave almost no room for error with a standard high tack film. Once that kind of vinyl grabs the substrate, repositioning it usually means peeling the whole panel and starting over, which costs both material and shop time. The 11 tips below come from The Wrap Institute, a respected trainer and resource for vehicle wrap installers, and cover what changes in your process when you move from a high tack film to a low tack vinyl wrap.
Grimco stocks Briteline WrapCAST, a 2-mil cast film with a low initial tack, for detail work like this. For easy reference, the tips below are organized into 4 sections:
Before the tips, here's a quick recap on the difference between high tack and low tack vinyl wrap.
High Tack vs. Low Tack Vinyl Wrap: What Changes During Installation
High Tack Vinyl Wrap: Uses a stronger initial adhesive bond between the film and the liner. It's built to stay where it's placed rather than move, which works fine on flat panels where alignment happens quickly.
Low Tack Vinyl Wrap: Works differently. The adhesive stays workable at first contact, so the installer can slide, lift, and reset the film until it lines up correctly. Heat and pressure are what finish the bond, locking the film in place once the installer is satisfied with placement.
11 Expert Tips For Low Tack Vinyl Wrap Installation
Pre-Installation
💡Tip #1: Before installation begins, confirm the design file is final, including any last-round revisions, and that the printer profile is set up correctly for the ink being used, whether that's solvent, eco-solvent, latex, or UV.
💡Tip #2: When a new roll of vinyl wrap comes out of the box, cut directly across the ends, note the lot number, and confirm it prints cleanly across all ink platforms (solvent, eco-solvent, latex, and UV) before running a full job. It's a simple step, but one that gets missed more than you'd think.
💡Tip #3: Load the correct print profile before printing. A cool or heat-assist laminator can be used for lamination, and lining the film and laminate up correctly so it runs straight makes a real difference in the finished panel.
Substrate Prep
💡Tip #4: Because low tack vinyl wrap can be lifted and repositioned, it's a good fit for curved edges. Don't hesitate to reposition the film a few times to get the alignment right. Unlike high tack vinyl, a less-than-perfect first placement doesn't mean starting over and wasting material.
💡Tip #5: Bubbles happen, and there's no getting around that entirely. Briteline WrapCAST uses an air egress feature that makes clearing bubble pockets as simple as pressing down on them.
💡Tip #6: Avoid overstretching the film. It's designed to be flexible, but stretching it too far fades the color. If that happens, a little heat brings the material back down to its original shape and tension, and in most cases a reprint isn't needed.
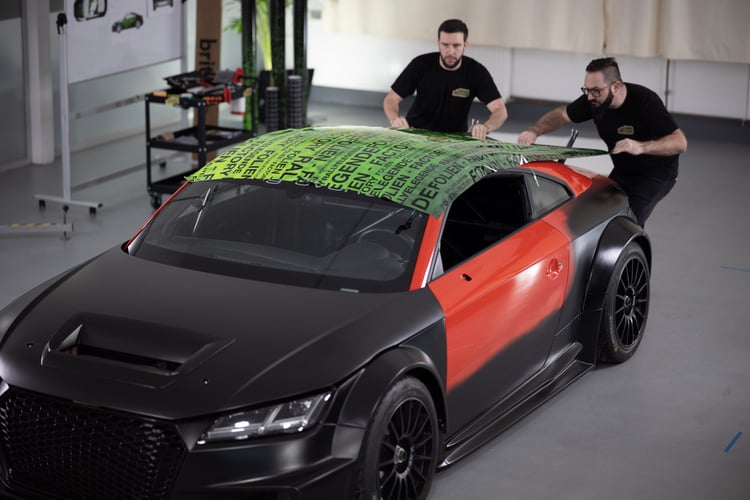
💡Tip #7: Use an overlap of a half inch to a full inch between two panels. Clean the base layer first with a light isopropyl alcohol solution, then run a heat gun and squeegee over the overlap to get a full seal. For the lamination step, Briteline WrapCAST Overlaminate is built to run through a cool or heat-assist laminator without lifting the base film.
Installation
💡Tip #8: Apply the vinyl wrap with firm pressure and heat, overlapping strokes by about 50 percent so no air gets trapped under the film. Ease off on stretch around curves and channels to reduce the risk of popping.
💡Tip #9: On large panels like driver and passenger doors, trim the excess material along with the liner, release the rest of the liner, and add heat where needed. Once the film is applied to the main surface, trim as normal.
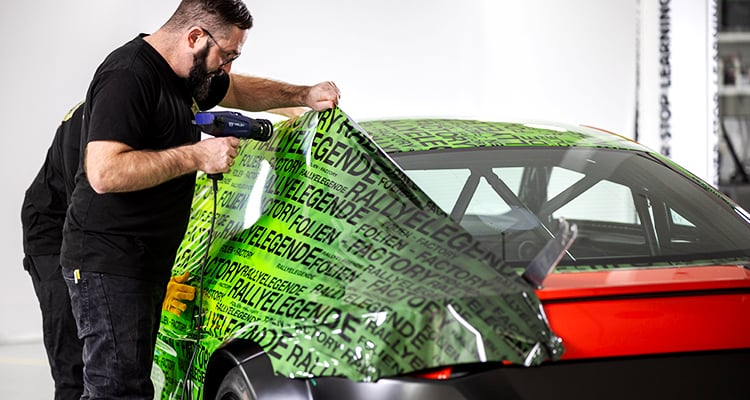
💡Tip #10: For compound curves, Briteline WrapCAST can be pre-stretched: heat it, stretch it, let it cool, then set it in place. Once it's positioned correctly, applying heat triggers the memory effect, and the film shrinks back into place.
Post-Installation
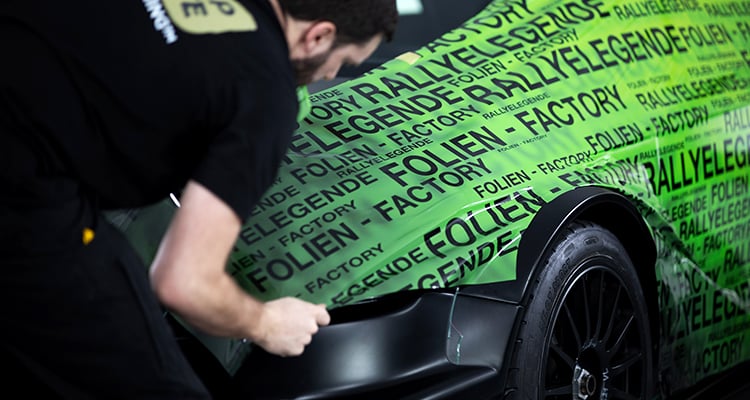
💡Tip #11: Post-heat the vinyl entirely once the wrap is complete, reapplying pressure during that final heating step. Let the vehicle sit for 24 hours before it goes back to the customer.
That reposition-and-reset process is what makes low tack film like Briteline WrapCAST a common choice for rivets, bumpers, and other compound-curve detail work on a wrap.
Check out this video on a recent wrap project for Folien - Factory
We also put together a list of the must-have tools for any vehicle wrap shop.