
In screen printing, preparing screens is the best way to improve print quality, minimize costly print mishaps, and make your shop much more efficient.
A properly coated, dried, and exposed screen eliminates issues in your shop; and with some preparation and practice, it is an easy thing to do well - saving time and, in the long run, money!
6 Screen Prep Tips To Save Time & Money:
- The Right Environment to Coat, Dry, and Store Screens
- Coating Trough aka Scoop Coater
- Clean Screens with Good Tension
- Reliable Emulsion
- Proper Technique
- Standardize The Process
Tip 1: The Right Environment to Coat, Dry, and Store Screens
- Separate – Coat, dry, and store coated screens in a separate room away from the washout booths.
- Clean – Dust is the enemy and will show up on your screens. Shirts are linty so you should wipe, mop, and clean your screen room regularly.
- Filtered Airflow – Filter the air coming into the screen room. You need airflow to remove the moisture from the room unless you use a dehumidifier. A furnace filter in front of a vent low on one wall and an exhaust fan high on an opposite wall can work well.
- Relative Humidity (RH) - Never higher than 40%. Unless you are lucky and live in an actual desert, you need a dehumidifier. With this, you can skip the filtered airflow above, but you may want a fan to gently move air in the room, low and slow so you don’t stir up dust. Heat can lower the RH to speed drying but it is no replacement for a dehumidifier.
- Drying Cabinets – These can help keep the screen clean after coating, and speed drying, but these are also not a replacement for a dehumidifier.
- UV Light – The screen room must have zero UV light. Use UV light filter sleeves on fluorescent lights, or source LED lamps that don’t output 310-420 nanometers in the UV spectrum. Turn the light off when you aren’t in the room.
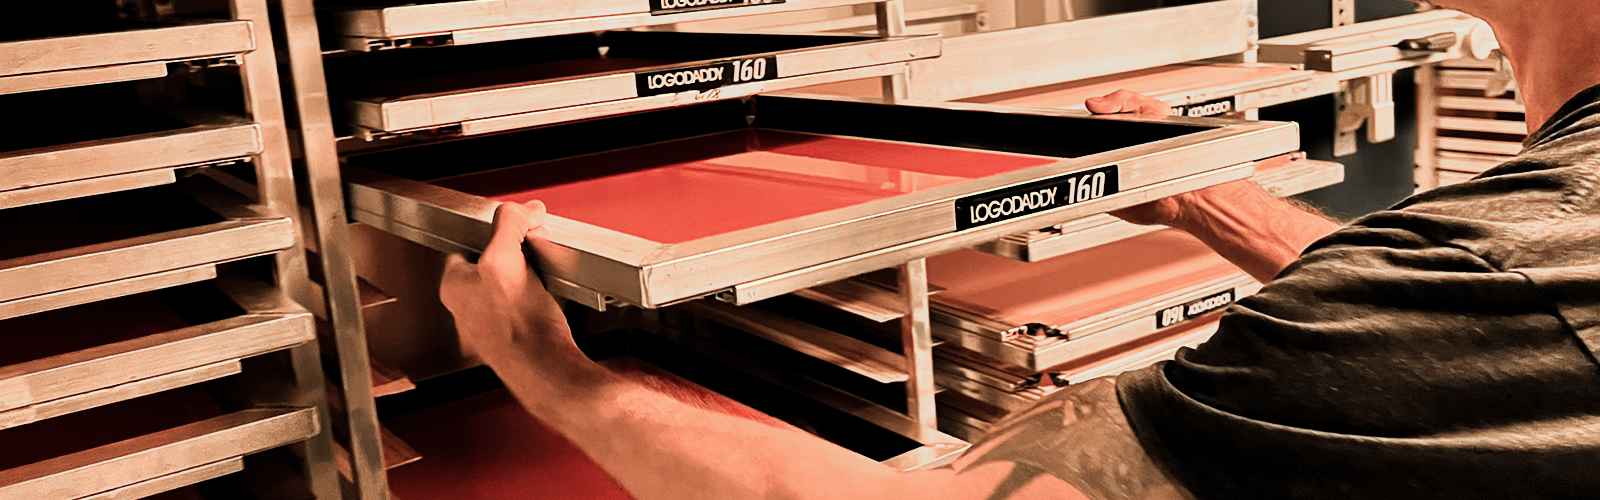
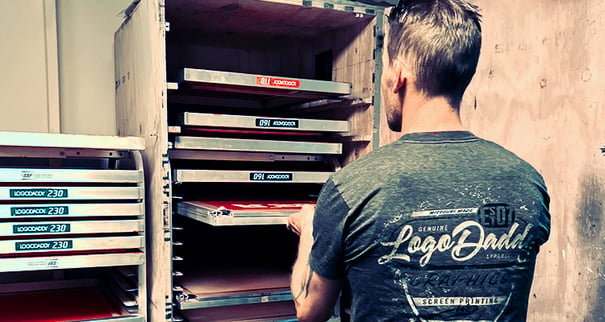
- Screen Racks – It is worth investing in a few screen racks. Vertical racks for unexposed screens (coated or uncoated) and horizontal for screens while the emulsion is drying.
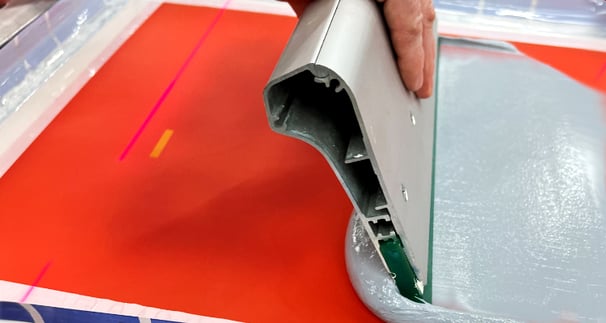
Tip 2: Coating Trough aka Scoop Coater
- Clean – A clean trough with no nicks in the coating edges. Dirt and nicks make a mess of your coating.
- Length – Minimum of 4” shorter than the I.D. of your screen
- Edges – A rounded edge and a sharp edge for manual coating. Get a trusted brand.
Tip 3: Clean Screens with Good Tension
- Frame – Aluminum only, either static (glued) or retensionable (like roller frames).
- Flat – Put the screen on a flat surface. If it rocks, don’t use it. For retensionable - fix it, for static recycle it.
- Tension – For static frames have at least 20 newtons (N/cm2). For retensionable consult, a mesh chart and have a standard for your shop for each mesh count.
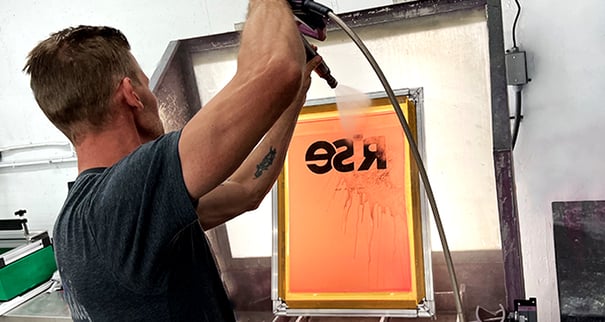
- Screen Cleaning - Remove ink, remove the stencil, remove ghost/haze as needed, degrease, and dry the screen as dust-free as possible. A clean wet/dry vac does a great job of drying screens quickly without depositing dust. Make sure if you don't use a degreaser as your final step that your ink degradant contains a surfactant that will remove any greasy/oily residue.
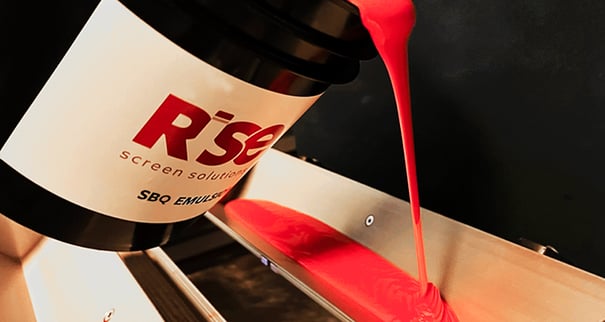
Tip 4: Reliable Emulsion
- Type – Consult your supplier or the emulsion manufacturer. Choose one appropriate for your ink type(s), reclaim method, and solvents used on press.
- Color – This is only added to make pinholes easier to see.
General Emulsion Guidelines:
- Diazo Dual-Cure – Uses Rise Dual and Rise SBQ/photopolymer to crosslink. The most forgiving and most robust emulsion type. If you have a good light source, choose this. The only downside is that they expose slower.
- SBQ Dual Cure – Faster than dual cure. These have two non-diazo cross-linking components. The wavelength of light with UV LED is not optimal. Dry screen after developing and post-expose for 3X normal exposure for optimal performance.
- SBQ or Photopolymer – Very fast exposing. The wavelength of light with UV LED is not optimal
- Diazo – Either solvent or water-resistant, but not both. OK if you don’t need to use more than one type of ink.
Tip 5: Proper Technique
- Trough Edge – Use the rounded edge unless you have a very low mesh count or very high mesh count. Use the sharp edge to un-coat an “oops”.
- Coating Manually – If you hold the screen with one hand and the trough with the other, make sure that you don’t have to stoop to coat. Ideally, the only thing moving will be your arm. Firm even pressure and consistent speed are the keys. The angled edges of the trough should glide along with the screen mesh.
- Passes – Follow the emulsion recommendations. Always coat the squeegee side last. After the last pass, the print side should look really smooth and glossy.
- Drying – Dry the screens print side down.
- Storing – Once coated screens dry store them vertically to keep them clean.
Tip 6: Standardize The Process
Be a Quality Shop. Quality is not something that is “good”. Quality is getting exactly what you expect, every time. Develop a screen making process for your shop and include these things:
- Train everyone involved in the whole process. Educated people who know why they do things get better results. Don’t rely on word-of-mouth training. Write it down.
- Pick an acceptable screen tension range for your shop. It should be at least 20 N/cm2. Use a tension meter to measure screen tension every time screens go through the cleaning process. It takes just a moment, and it can really save setup/registration time. Use out-of-spec screens ONLY for one color jobs, or not at all.
- Have a consistent documented coating process. Post it where it will be seen by those coating. If you can afford a coating machine, make the investment. It never gets sick, never has a bad day, and always does its job the same way.
- Before you expose, check the hygrometer where the coated screens are stored. If it is over 40% RH, the screen is not dry enough to expose. (Pro Tip: If you coat all the screens in the late afternoon and dry them overnight you are much less likely to re-wet dried screens)
- Make a chart for your exposure times using an exposure calculator. Put each mesh count/color combination you use on it. Follow the chart.
- Once you expose the screen, soak it for a few minutes in a dip tank of clean water. This will help you wash out the detail without blasting the screen
- Do your taping and fill any pinholes - there should be almost none - on a light table
- When there is a failure find out exactly why and fix it, so it doesn’t happen again. This is crucial
Here are tools every shop should have and if you want to learn more about Rise Screen Solutions check it out here.
That’s it! If you follow these basic guidelines, you will be well on the way to making great screens and making more money.